Our Locations
Caledonia
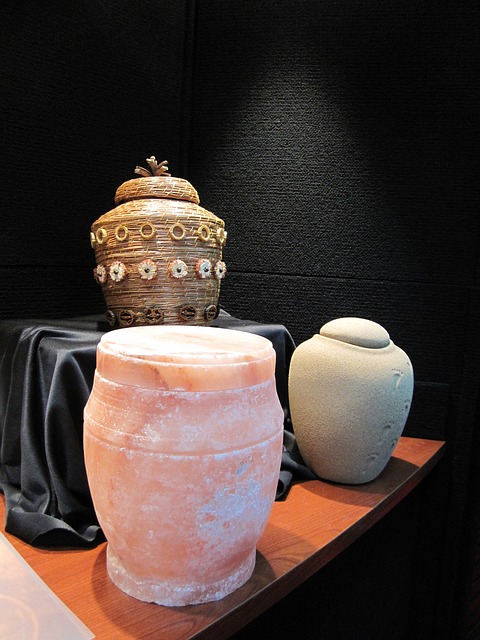 The cremation services of your loved one are finished, and you were given the ashes in a temporary urn. You have gone urn shopping, and your carefully selected cremation urn is at your disposal, waiting for you to fill it.
Now, you are at a loss, and you have no idea what to do. You feel emotional because you are holding the most precious remains of your beloved family member.
It is entirely understandable why you feel this way. Most people have never held an urn for ashes, nor have they had to open and seal one. This unique experience is like no other, so it is normal for you to feel a wave of emotions.
There are many different kinds of urns available in the market, and most of them open and seal in a simple manner that requires closing a cap or tightening screws. If you don’t have any idea how to seal the ashes within the cremation urn, here is what you can do:
Request the Crematorium to Do It
It is common for crematoriums and funeral homes to have a broad range of cremation urns for sale. Do note that you are not required to buy from them. If you happen to see an interesting urn with elaborate embellishments and personalization options online, then go ahead and buy it.
Even if you bought your urn elsewhere, you are protected by law. Crematoriums and funeral homes cannot refuse your request should you go back to them and ask that the ashes be placed and sealed in your chosen urn.
Thus, you can have a quality urn from your shop of choice deliver the urn directly to the crematorium to be filled with ashes and then sealed. The law mandates that you should not be asked to pay any additional fees for this service.
Transfer the Whole Bag of Ashes into a Bigger Urn
Most cremated remains are given to you inside a temporary urn or box. Within this temporary container, you will find a sturdy polyurethane plastic bag where the ashes are placed. The temporary urn will be labeled with the name of the deceased for proper identification.
On top of this, you will receive a certificate of cremation, which is a requirement. All cremated ashes come with this valuable certificate. Now, you can choose to transfer this whole bag into a permanent urn that you purchased.
Make sure that the whole bag will fit into the urn. Then go on with the standard closing of the urn. Take note that there is a broad range of urns, so follow the manufacturer’s instructions for the best results.
Unpack Bag and Transfer the Ashes to an Urn
Now, if the urn you bought cannot accommodate the bag due to its unique shape, you will have to take the ashes out of the thick plastic bag. Do not worry because cremation remains are all-natural products. Hence, they are non-toxic and do not present any health hazards.
Of course, even if the ashes are totally safe, you still have to take great care in transferring them because you do not want to inhale the fine particulate matter. The ashes are not consistently fine powder-like sand. Since it comes from bone fragments, sometimes the texture is like gravel.
If you decide to take the ashes out of the plastic bag, transfer them, and seal the urn on your own, there are several things that you need to do. Follow the steps below for a successful transfer.
Choose an urn that has an adequate size. There are paper urns, glass urns, ceramic urns, and scattering urns. You will need a newspaper or a towel to catch any possible spills. Buy a large funnel, gloves, face mask, and sealant. Get your scissors ready for snipping the plastic bag.
You have to make sure that the area where you are going to do the transfer is flat. The last thing you want is for the urn to topple over as you are transferring the ashes because the ground is unstable.
Moreover, you must make sure that they have you choose is not windy. You don’t want the remains of your beloved family member to disperse with the wind. Wear a mask, so your breathing also does not disrupt the fine particles.
Put the scissors and funnel on standby. Then make sure that you place the cremation urn on top of the towel or newspapers. Remove the lid of the urn, so you can be ready to transfer.
Snip one corner of the bag with a diagonal cut. Make sure the hole is not too big because you don’t want the stuff to spill out in one go. The small hole makes a tiny spout that gives you control to manage the ash flow.
Gently pour the ash through the funnel into the urn. If you and your family members have chosen to divide the ashes for whatever reason, now is the time to distribute the ashes into several urns equally.
Once everything is in, gently tap the funnel and the urn to settle the ash. Place the lid on your chosen urn. Most ceramic urns have a cover on the top. You may seal this by twisting the cover as you would any regular lid.
However, some cremation urns are covered with a metal plate or wooden lids that are screwed in place. You may need to screw these back on to ensure that the remains inside stay safe. Be sure to read the instruction manual that always comes with your urn order from your chosen vendor.
As a final procedure, you may put in a permanent sealant on your urn. You can seal this with any commercial sealer like heavy-duty epoxy from any hardware store. If you don’t want added expenses, you can look through your cabinet and use ordinary glue. But for a box, make sure that you use wood glue.
Bottom Line
Transferring your loved ones remains may seem daunting, especially if it is your first time to do it. Remember to keep calm and maintain your presence of mind. Some people even find it therapeutic to do the transfer themselves. They see this solemn ritual as their final goodbye. Sealing the cremation urn will give you that closure you need to help with your grieving process.